Welcome to the Honeywell Installation Manual, your comprehensive guide for successfully setting up and configuring Honeywell devices. This manual ensures a smooth and efficient setup process, providing detailed step-by-step instructions and troubleshooting tips to help you achieve optimal performance from your system. Designed to be user-friendly, it covers all aspects of installation, from pre-installation checks to final configurations, ensuring compatibility and functionality. Follow this manual carefully to guarantee a seamless experience with your Honeywell product.
1.1 Importance of Proper Installation
Proper installation of Honeywell devices is crucial for ensuring optimal performance, safety, and functionality. Incorrect installation can lead to system failures, safety hazards, and reduced efficiency. Adhering to the guidelines in this manual guarantees that your Honeywell product operates as intended, providing reliable service and meeting your expectations. By following the step-by-step instructions, you minimize the risk of errors and ensure compliance with safety standards. Proper installation also enhances energy efficiency and extends the lifespan of your system. Always prioritize careful planning and precise execution to achieve a seamless setup and maintenance experience with your Honeywell product.
1.2 Brief Overview of the Manual
This manual provides a detailed, structured approach to installing Honeywell devices, ensuring a seamless experience for users. It is organized into clear sections, starting with pre-installation requirements, followed by step-by-step installation guidance, and concluding with post-installation checks and maintenance tips. The manual emphasizes compatibility checks, tool preparation, and proper setup to avoid common pitfalls. Designed for both professionals and DIY enthusiasts, it offers practical advice and troubleshooting solutions. By following this guide, users can ensure their Honeywell system operates efficiently and safely. The manual is user-friendly, with clear instructions and visuals to assist in every step of the process.
Pre-Installation Requirements
Before installing your Honeywell device, ensure system compatibility, prepare necessary tools, and follow safety measures. Verify power supply requirements to avoid installation issues.
2.1 Checking System Compatibility
Before proceeding with installation, verify that your Honeywell device is compatible with your system. Check the device’s specifications to ensure it aligns with your current setup, including hardware and software requirements. Compatibility issues can lead to functionality problems or system instability. Review the manual to confirm supported operating systems, power requirements, and any additional components needed. Ensure your system meets all minimum and recommended specifications. If unsure, consult Honeywell’s official documentation or contact customer support for assistance. Proper compatibility ensures smooth operation and optimal performance of your Honeywell device.
2.2 Preparing Necessary Tools and Materials
To ensure a smooth installation process, gather all required tools and materials beforehand. Essential tools include screwdrivers (both flathead and Phillips), pliers, wire strippers, and a multimeter for verifying electrical connections. Additionally, prepare mounting hardware such as screws, brackets, and adhesive strips, as specified in the manual. Ensure you have the correct power supply and any additional components like sensors or connectors. Organize these items in a convenient workspace to avoid delays. Safety equipment, such as gloves and safety glasses, is also recommended. Double-check that all materials are compatible with your Honeywell device to prevent installation issues. Proper preparation ensures efficiency and minimizes the risk of errors during the setup process.

Installation Process
The installation process ensures a smooth and efficient setup of your Honeywell device. Follow step-by-step instructions for mounting, connecting wires, and configuring settings. Always adhere to safety guidelines and manufacturer instructions to avoid errors and ensure optimal performance.
3.1 Mounting the Device
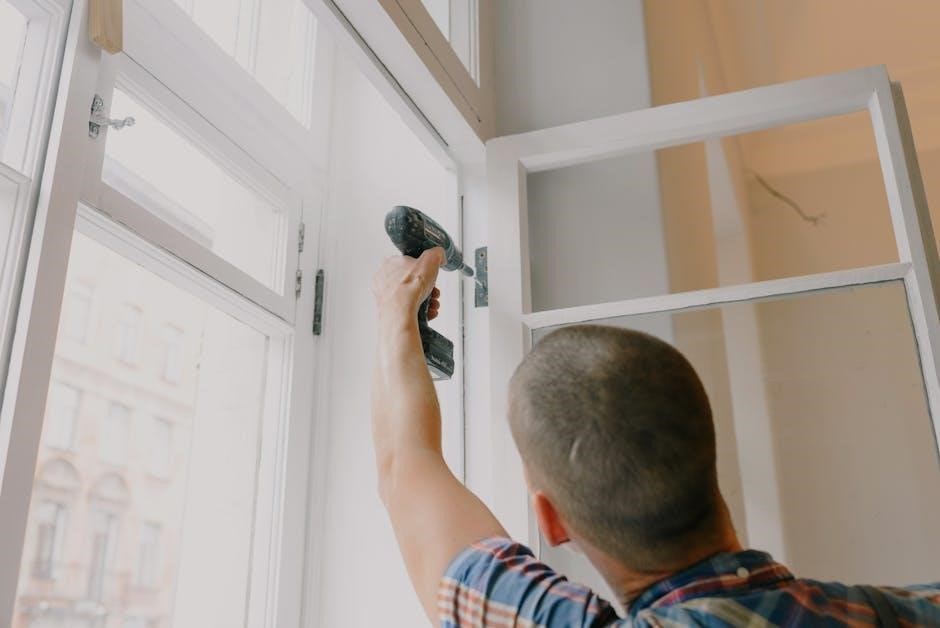
Mounting the Honeywell device is the first critical step in the installation process. Ensure the device is placed in a location with stable temperature and humidity levels. Use a level to confirm the surface is even, and mark the wall for drilling if necessary. Secure the mounting bracket firmly using screws or anchors provided. For thermostats, install the wallplate near the existing wiring. Ensure the device is at least 3 feet away from direct sunlight or heat sources. If mounting on a brick or concrete wall, use appropriate anchors to prevent damage. Once the bracket is in place, gently attach the device, ensuring it clicks securely. Double-check the alignment and stability before proceeding to the next steps. Proper mounting ensures accurate readings and optimal performance.
3.2 Connecting Wires and Sensors
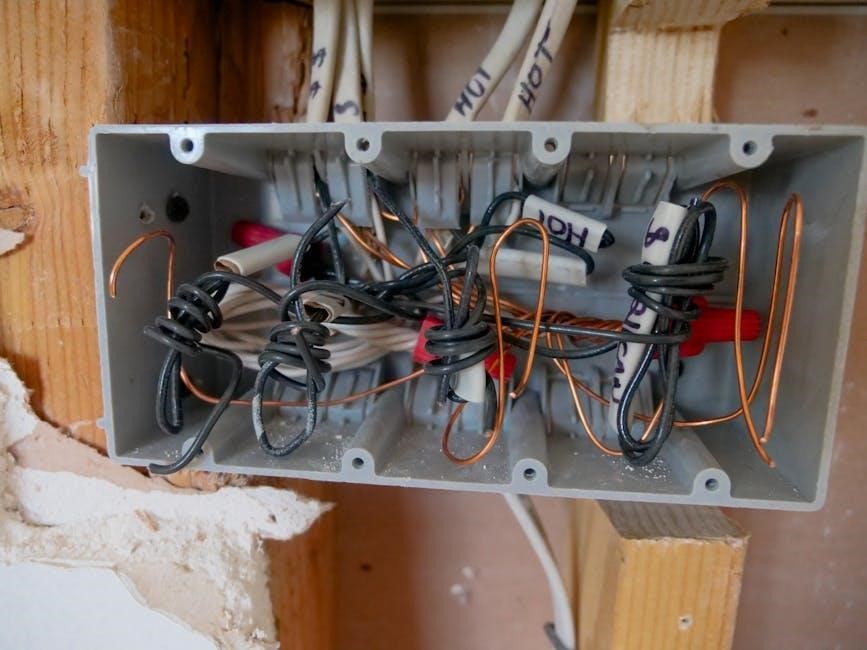
Connecting wires and sensors is a crucial step in the installation process. Begin by turning off the power supply to the system to ensure safety. Locate the terminal connections on the Honeywell device and match them with the corresponding wires from your system. Use the provided wiring diagram or manual for accurate connections. Securely attach each wire to its designated terminal, ensuring no loose ends or crossed wires. For sensors, such as temperature or humidity probes, connect them to the appropriate ports on the device. Gently tighten the connections to avoid damage. Once all wires and sensors are connected, turn the power back on and test the system to ensure proper functionality. Proper wiring ensures accurate data transmission and reliable system performance.
3.3 Powering On the System
Once all connections are secure, carefully turn on the power supply to the Honeywell system. Ensure the power source matches the specifications outlined in the manual to avoid damage. After powering on, check for any indicator lights or sounds that confirm the system is initializing. Allow the system to boot up completely, which may take a few moments. If the system does not power on, double-check all connections and ensure the power source is functioning properly. Once the system is operational, proceed to the next step in the installation process. Proper power initialization is essential for ensuring the system operates correctly and safely.
3;4 Initial Setup and Configuration
After successfully powering on the system, navigate to the initial setup menu. Here, you’ll configure basic settings such as date, time, and language. Use the touchscreen interface or control panel to select your preferences. Next, connect the system to your network for remote access and updates. Ensure all sensors and devices are recognized by the system. If prompted, enter your Wi-Fi password or pair devices using the pairing button. Once connected, review and confirm all settings to ensure they meet your requirements. Proper configuration is crucial for optimal performance and integration with other smart devices. Follow on-screen instructions carefully to complete the setup process efficiently.
Post-Installation Steps
After installation, test the system to ensure all components function correctly. Configure advanced settings for personalized operation and document the setup for future reference and maintenance.
4.1 Testing the System
After completing the installation, thoroughly test the system to ensure all components function as intended. Begin by verifying that all sensors and devices are accurately detecting and reporting data. Check the responsiveness of the system to commanded actions, such as temperature adjustments or alarm triggers. Conduct a series of diagnostic tests to identify any potential issues, such as connectivity problems or misconfigurations. Review the system logs to confirm that all operations are recorded correctly. Additionally, simulate real-world scenarios to evaluate performance under varying conditions. Address any discrepancies promptly to ensure reliability and efficiency. Proper testing ensures a seamless user experience and optimal system performance.
4.2 Configuring Advanced Settings
After the initial setup, configure advanced settings to tailor the system to your specific needs. Access the settings menu through the touchscreen interface or remote access portal. Customize profiles, scheduling, and automation rules to optimize performance. Enable features like geofencing, voice control, or smart home integration for enhanced convenience. Adjust sensitivity levels for sensors to minimize false alarms. Set up notifications for system updates, low battery alerts, or unusual activity detection. Utilize data analytics to monitor usage patterns and improve efficiency. Ensure all configurations align with your preferences and operational requirements. Advanced settings allow for personalized control, ensuring the system meets your unique demands and enhances overall functionality.
4.3 Final Checks and Documentation
Once the system is fully installed and configured, perform a thorough final check to ensure all components are functioning correctly. Test each feature, including sensors, alarms, and automation settings, to confirm proper operation. Document all system settings, configurations, and customizations for future reference. Record serial numbers, software versions, and calibration data to maintain accurate records. Store physical copies of manuals and digital backups of configurations securely. Schedule routine maintenance checks as per the manufacturer’s recommendations to ensure long-term reliability. Proper documentation and verification are essential for troubleshooting and future upgrades, ensuring your Honeywell system operates efficiently and meets your requirements consistently.
Troubleshooting Common Issues
Troubleshooting common issues ensures your Honeywell system operates smoothly. Identify error codes, check wiring connections, and refer to diagnostic tools in the manual for quick resolutions.
5.1 Identifying and Resolving Installation Problems
Identifying and resolving installation issues is crucial for ensuring your Honeywell system functions correctly. Start by reviewing error codes or unexpected behavior during setup. Check wiring connections for loose links or damage, and verify compatibility with existing systems. Refer to the manual’s diagnostic tools section for guidance on pinpointing faults. Common problems include incorrect sensor placement or power supply issues. Use the troubleshooting checklist to systematically address each potential cause. If issues persist, consult the advanced settings or contact Honeywell support for further assistance. Resolving these problems early ensures optimal performance and prevents future complications. Always follow the manual’s instructions to avoid recurring issues.
Maintenance and Upkeep
Regularly clean sensors and vents to ensure optimal performance. Check for firmware updates and inspect wiring connections. Schedule routine maintenance to prevent system downtime and ensure reliability.
6.1 Regular Maintenance for Optimal Performance
Regular maintenance is essential to ensure your Honeywell system operates at peak efficiency. Start by cleaning sensors and vents to prevent dust buildup, which can impair functionality. Inspect wiring connections for any signs of wear or damage, and tighten loose connections to maintain reliability. Additionally, check for firmware updates and install the latest versions to access new features and improvements. Schedule routine checks to identify potential issues before they escalate. Lubricate moving parts if applicable, and ensure all components are aligned properly. By following these steps, you can extend the lifespan of your system, reduce downtime, and maintain consistent performance. Refer to the manual for specific maintenance schedules and procedures tailored to your Honeywell product.
Leave a Reply
You must be logged in to post a comment.