A film camera is a device that captures images on photographic film, offering a unique, tangible way to preserve memories and express creativity. Understanding its function through a manual is essential for proper use, troubleshooting, and mastering photography basics.
1.1 What is a Film Camera?
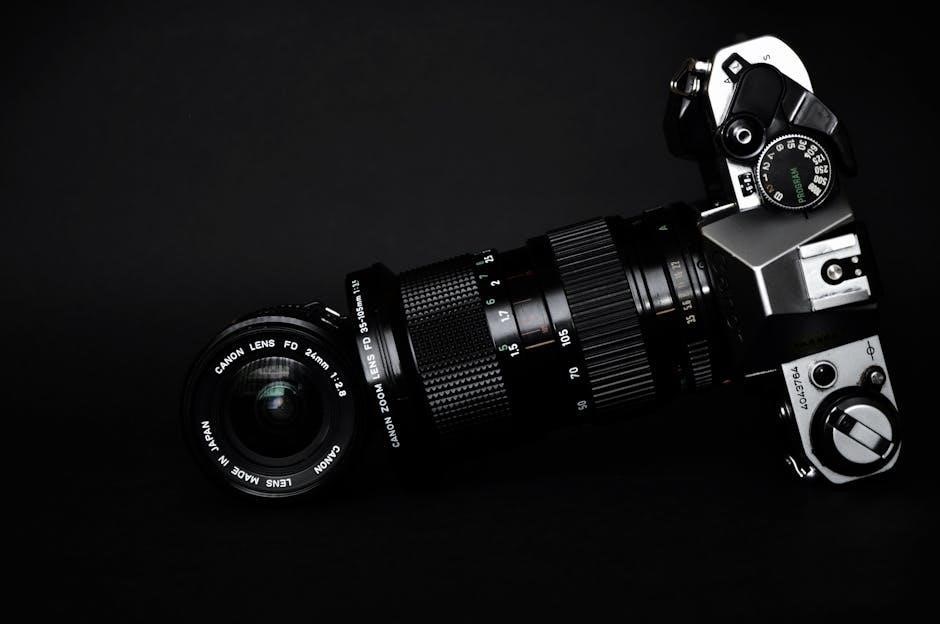
A film camera captures images on photographic film, using light passing through a lens to create a tangible, physical record of moments. It operates by loading film, setting exposures, and understanding aperture, shutter speed, and ISO. The manual provides detailed instructions for these processes, ensuring proper use and troubleshooting. Mastering the camera’s mechanics through practice and experimentation enhances creativity and skill.
1.2 Importance of a Camera Manual
A camera manual is a comprehensive guide detailing the operation, maintenance, and troubleshooting of a film camera. It provides essential information for loading film, setting ISO, and understanding exposure settings. The manual also offers tips for optimal use, helping users master advanced features and resolve common issues. It is indispensable for both beginners and experienced photographers to unlock the camera’s full potential and ensure creative success.
Preparing the Camera
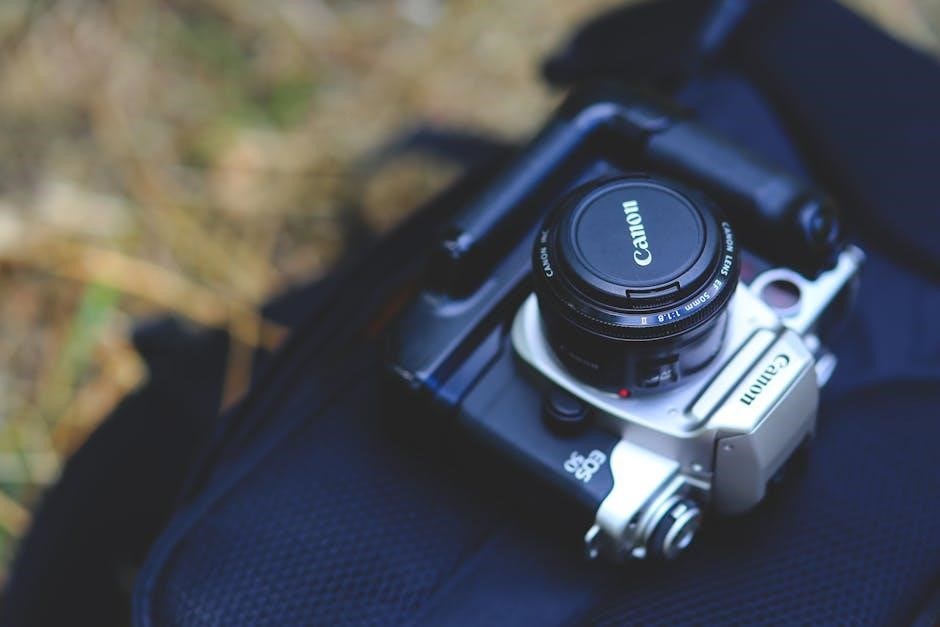
Preparing the camera involves checking the battery, ensuring the back is closed tightly, and loading film correctly. Proper preparation ensures smooth operation and optimal photo quality.
2.1 Loading Film
Load film by opening the camera back, inserting the film cartridge, and advancing the film to the take-up spool. Close the back tightly, wind the film to the first frame, and set the exposure counter. Ensure the film lays flat and the back is securely closed for proper function and to avoid exposure issues during shooting.
2.2 Inserting Batteries
Insert the recommended battery type into the camera’s battery compartment, ensuring correct polarity. Close the compartment securely to maintain power. Proper battery installation ensures accurate meter readings and smooth camera operation. Always check battery levels before use and replace them as needed to avoid power-related issues during filming.
Understanding Camera Components
Familiarize yourself with key components like the viewfinder, lens, and controls for aperture, shutter speed, and ISO. These elements are essential for capturing well-exposed, focused images.
3.1 Viewfinder and Lens
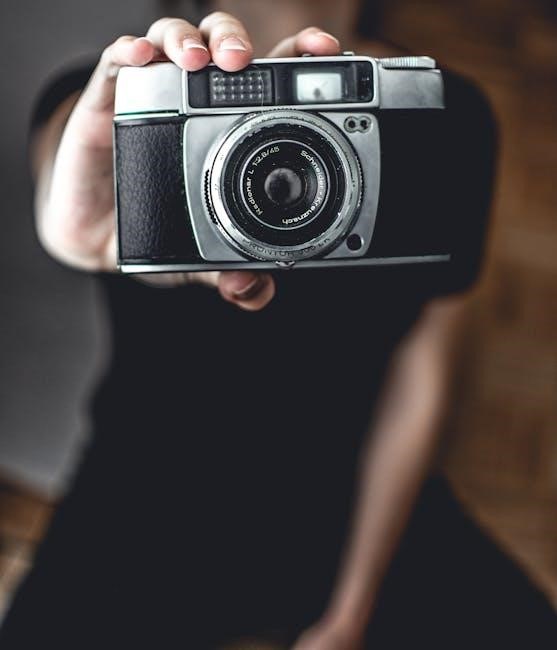
The viewfinder allows you to compose and focus your shot accurately. The lens is crucial for image quality, controlling focus and light entry. Ensure it’s clean and free of obstructions. Adjustments to the lens, like zoom or focusing rings, help frame your subject perfectly. Proper use of the viewfinder and lens ensures sharp, well-composed images, making them essential components for effective photography with your film camera.
3.2 Aperture, Shutter Speed, and ISO
Aperture regulates light entry through the lens, expressed in f-stops. Shutter speed controls exposure duration, affecting motion capture. ISO sets film sensitivity to light. Balancing these ensures proper exposure. Lower f-stops (like f/2.8) mean more light, while higher speeds (1/1000th of a second) freeze motion. Adjusting ISO (e.g., ISO 400) adapts to lighting conditions, optimizing image quality in various environments for precise control over your film camera’s performance.
Loading Film
Loading film into a camera requires care to avoid exposure to light. Ensure the camera is prepared, then insert the film, aligning it properly. Follow the manual’s instructions for securing and advancing the film to prevent errors and ensure optimal image capture.
4.1 Step-by-Step Film Loading Guide
Open the camera back by releasing the latch or turning the lock.
Insert the film cartridge into the spool, ensuring it aligns properly.
Gently pull the film leader to secure it into the take-up spool.
Close the camera back tightly to prevent light exposure.
Advance the film by winding the lever until the counter shows “1”.
Check the film counter to confirm it is ready for shooting.
This process ensures the film is loaded correctly and protected from light.
4.2 Film Types and Speeds
Film types include color negative, slide, and black and white, each suited for different photography styles.
Film speed, measured by ISO, determines sensitivity to light, with lower ISOs (100-400) for bright conditions and higher ISOs (800-3200) for low light.
Understanding these factors ensures proper film selection and optimal camera settings for desired results.
Setting the ISO
Set the ISO to match the film’s speed for proper exposure. Adjust the ISO dial on your camera to align with the film’s sensitivity, ensuring optimal results.
5.1 Understanding Film Speed
Film speed, measured by ISO or ASA, indicates the film’s sensitivity to light. Lower ISO (e.g., 100, 200) is best for bright conditions, while higher ISO (e.g., 400, 800) suits low light. Always match the camera’s ISO setting to the film’s speed for proper exposure. Refer to the camera manual for guidance on adjusting these settings to achieve optimal results in various lighting scenarios.
5.2 Adjusting ISO Settings
Adjusting the ISO setting on your film camera ensures proper exposure by matching the film’s sensitivity to lighting conditions. Locate the ISO dial or button, typically marked with numbers like 100, 400, or 800. Rotate the dial or press the button to select the desired ISO. Always refer to your camera manual for specific instructions, as the process may vary slightly between models. Proper ISO adjustment ensures optimal image quality.
Exposure Settings
Exposure settings control how light enters the camera, balancing aperture, shutter speed, and ISO. Proper adjustments ensure well-lit photos. Consult your manual for guidance on optimizing these elements.
6.1 Aperture and Shutter Speed
Aperture and shutter speed are crucial for controlling light exposure. Aperture regulates the lens opening, affecting depth of field, while shutter speed manages the exposure duration, influencing motion blur. Together, they balance light intake, ensuring properly exposed images. Adjusting these settings requires understanding their interplay to achieve desired visual effects, as outlined in the camera manual for optimal photography results.
6.2 Using the Built-in Light Meter
The built-in light meter measures ambient light to ensure accurate exposure. Position the camera, frame your shot, and check the meter reading. Ensure no obstructions cover the sensors. Adjust aperture or shutter speed based on the meter’s guidance for balanced exposure. Proper use avoids under or overexposure, helping achieve optimal image quality as detailed in the camera manual for precise photography control.
Shooting Techniques
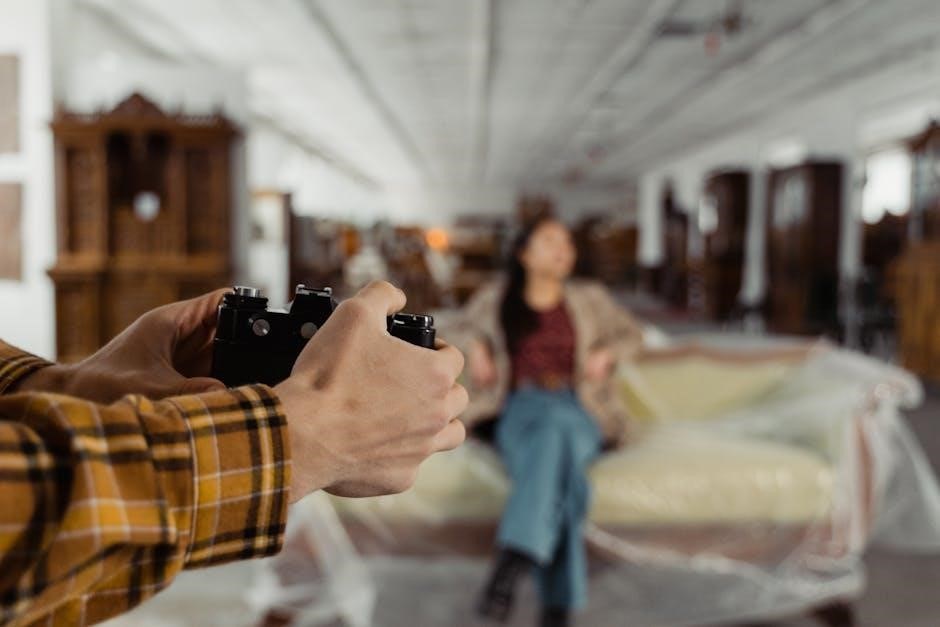
Mastering shooting techniques involves understanding composition, focusing, and exposure. Properly frame subjects, ensure sharp focus, and adjust settings for optimal results. Practice steady camera handling for clear images.
7.1 Composition and Framing
Composition and framing are key to capturing compelling images. Use the viewfinder to visualize your shot, ensuring your subject is well-placed within the frame. Consider elements like leading lines, symmetry, and the rule of thirds to create balance. Experiment with angles and perspectives to add depth. Properly frame your subject by adjusting the aperture and shutter speed for optimal exposure. Focus sharply on your subject and avoid distractions in the background. Steady camera handling ensures clear results. Practice these techniques to refine your photography skills and produce visually appealing film photographs.
7.2 Focusing and Shooting
Accurate focusing ensures sharp images. Use the viewfinder to focus on your subject, adjusting the lens until it’s clear. For moving subjects, pre-focus or use continuous focus if available. Ensure proper exposure settings before shooting. Hold the camera steady, press the shutter gently to avoid blur, and wait for the film to advance. Practice these steps for consistent results and better film photography outcomes.
Advanced Features
Advanced features like multiple exposures and long exposure photography enable creative control. These techniques allow for unique image capture and artistic expression, enhancing your film photography experience.
8.1 Multiple Exposures
Multiple exposures allow capturing several images on a single frame of film. This technique creates unique, layered compositions. To achieve this, disable the film advance mechanism. Shoot the first image, then manually rewind and expose the same frame again. This method enables artistic effects like ghosting and blending, offering creative control over your film photography outcomes.
8.2 Long Exposure Photography
Long exposure photography involves keeping the camera’s shutter open for extended periods to capture movement and light over time. This technique is ideal for creating effects like streaking clouds, glowing trails, or blurred water. Use a tripod to prevent camera shake, set a slow shutter speed manually, and ensure the film is loaded correctly. This method enhances low-light scenes and adds artistic depth to your images.
Camera Maintenance
Regular cleaning and proper storage are essential for maintaining your film camera’s performance. Use a soft cloth to wipe the lens and body, avoiding harsh chemicals. Store the camera in a dry, cool place to prevent damage and ensure longevity. Always check for dust and debris before use to maintain image quality.
9.1 Cleaning the Camera
Regular cleaning is crucial for maintaining your film camera’s performance. Use a soft, dry cloth to wipe the exterior and lens, avoiding harsh chemicals. For the lens, use a microfiber cloth and gentle cleaning solutions if necessary. Never blow on the camera or lens, as moisture can damage internal components. Avoid touching the lens surface to prevent smudges and scratches. Clean the viewfinder and mirrors with care to ensure clear visibility.
9;2 Storing the Camera
Store your film camera in a cool, dry place away from direct sunlight and moisture. Use a protective case or bag to prevent dust and scratches. Avoid extreme temperatures, as they can damage the camera’s internal mechanisms. Consider using silica gel packets to maintain humidity control. Never store the camera with film inside, as it may fog the film or cause damage over time.
Troubleshooting Common Issues
Troubleshooting common issues with your film camera involves checking the film for proper loading, ensuring correct exposure settings, and addressing battery-related problems promptly.
10.1 Film Loading Problems
Film loading issues can prevent proper advancement, causing incomplete frames or exposure errors. Ensure the film is seated correctly on the spool and the camera back is closed tightly. If the film counter doesn’t advance, check for obstructions or improper alignment. Rewind the film before removing it if necessary. Always use DX-coded film for automatic ISO settings, as specified in the manual.
10.2 Shutter and Exposure Issues
Shutter issues may result in incomplete exposures or blurry images. Check if the aperture and shutter speed are set correctly. If the shutter fails to fire, ensure batteries are properly inserted. For manual modes, verify exposure settings align with the light meter. Adjust settings or use a tripod for stability. Consult the manual for troubleshooting specific error indicators or unusual shutter behavior.
Accessing Additional Resources
Access additional resources like PDF manuals and guides through websites such as Manualios.com. Explore forums and communities for troubleshooting and expert advice. Use search functions to find specific models and solutions.
11.1 Downloading PDF Manuals
Download PDF manuals for film cameras from websites like Manualios.com and Butkus.org. These sites offer free access to user guides, instructions, and specifications for various models. Use search functions to find specific brands and models, then download the manuals directly. Ensure compatibility with your device and check file formats for ease of viewing. These resources provide detailed information for troubleshooting and understanding camera operations effectively.
11.2 Online Forums and Communities
Active online forums and communities, such as those dedicated to film photography, provide valuable resources and support. Websites like Manualios.com and Butkus.org host extensive collections of film camera manuals and discussions. These platforms allow users to share experiences, troubleshoot issues, and gain insights into various film camera models, including Olympus OM-2 and Pentax KX. Engaging with these communities enhances your understanding and mastery of film photography techniques.
Mastering a film camera requires practice and patience. By following this manual, you’ll unlock its full potential, capturing timeless moments with creativity and precision.
12.1 Summary of Key Points
This guide covered essential aspects of film cameras, from loading film to advanced techniques. Understanding components, exposure settings, and maintenance ensures optimal use. Practice and experimentation are key to mastering photography with film cameras, allowing you to capture moments creatively and effectively.
12.2 Encouragement to Practice and Experiment
Embrace the journey of film photography by experimenting with different techniques and settings. Practice regularly to refine your skills and understand your camera’s capabilities. Don’t hesitate to try new approaches—every shot is a learning opportunity. The satisfaction of capturing a perfect frame makes the effort rewarding. Keep exploring, and enjoy the creative process of film photography!
Leave a Reply
You must be logged in to post a comment.